Essential to starting a letterpress studio is an actual letterpress. Which is a bit of a dilemma since many letterpresses, especially the motorized ones, weigh too much and take too much effort to move, store, and maintain for what I envision my business doing. So I began looking into tabletop platen presses, which are unfortunately, due to their rarity and relative ease of moving, seem to be more expensive than their much larger, motorized cousins (but, on the bright side, they easily fit into an apartment and require comparatively little moving/shipping cost). After reading the
"First Press Suggestions" on Don Black's website, I became deadset on getting anything but a Kelsey (which are pretty easy to find on eBay), with a preference for either a Sigwalt or a Golding Official.
While scouring Briarpress, I happened upon an ad for a Golding Official 6x9 in mint, albeit a bit dirty, condition, complete except for the rollers, which needed to be recovered. After telling myself a million times over that it was a good buy and that I wasn't just flushing a whole lot of money down the drain, I decided to buy the press. Ted, who I bought it from, couldn't have been nicer and more helpful. He drove the letterpress down with him from northern California to LA where we met and he showed us how to take it apart and put it back together, gave us tips on how to clean it and what type of rollers to get, and helped us load the press into my car.
So we got the press home, and I took to the task of cleaning the thing off. According to Ted, the press had just sat on a man's shelf for over 30 years, unused. I used linseed oil to clean off the bulk of the dirt, grime, and whatever else was on the machine, with some mineral spirits here and there to help things along. The smells reminded me a lot of an oil painting class I took back in high school. After the oil cut through most of the grime, I used white vinegar to clean off the linseed oil and what little bits of rust there were.
Meanwhile, I priced recovering the rollers. Ted had stressed to me that I should get rubber rollers, as composition rollers, made from glue and glycerin, would get sticky and messy in the Los Angeles environment. I was still undecided as I had heard composition rollers were better inkers even though they didn't last as long. So I contacted Tarheel, who were wonderful and helpful, but they only cast composition rollers once a month and were on the other side of the United States. I contacted Ramco, a company based here in San Dimas, California. Adrian at Ramco said that he could get rubber rollers custom-made for my Golding in about a week. The best part was, despite what has been stated, Ramco's rubber rollers were cheaper than Tarheel's composition rollers. Faster, cheaper, and I didn't have to pay shipping! Adrian and Jane were so friendly and helpful, and my rollers were ready in one week flat!
Finally, for tympan paper, I saw a discussion somewhere on Briar Press on packing, where someone was talking about using Yupo paper as tympan paper. This struck me as a great idea, since it's relatively inexpensive and easily found at any number of art stores, so I decided to try it.
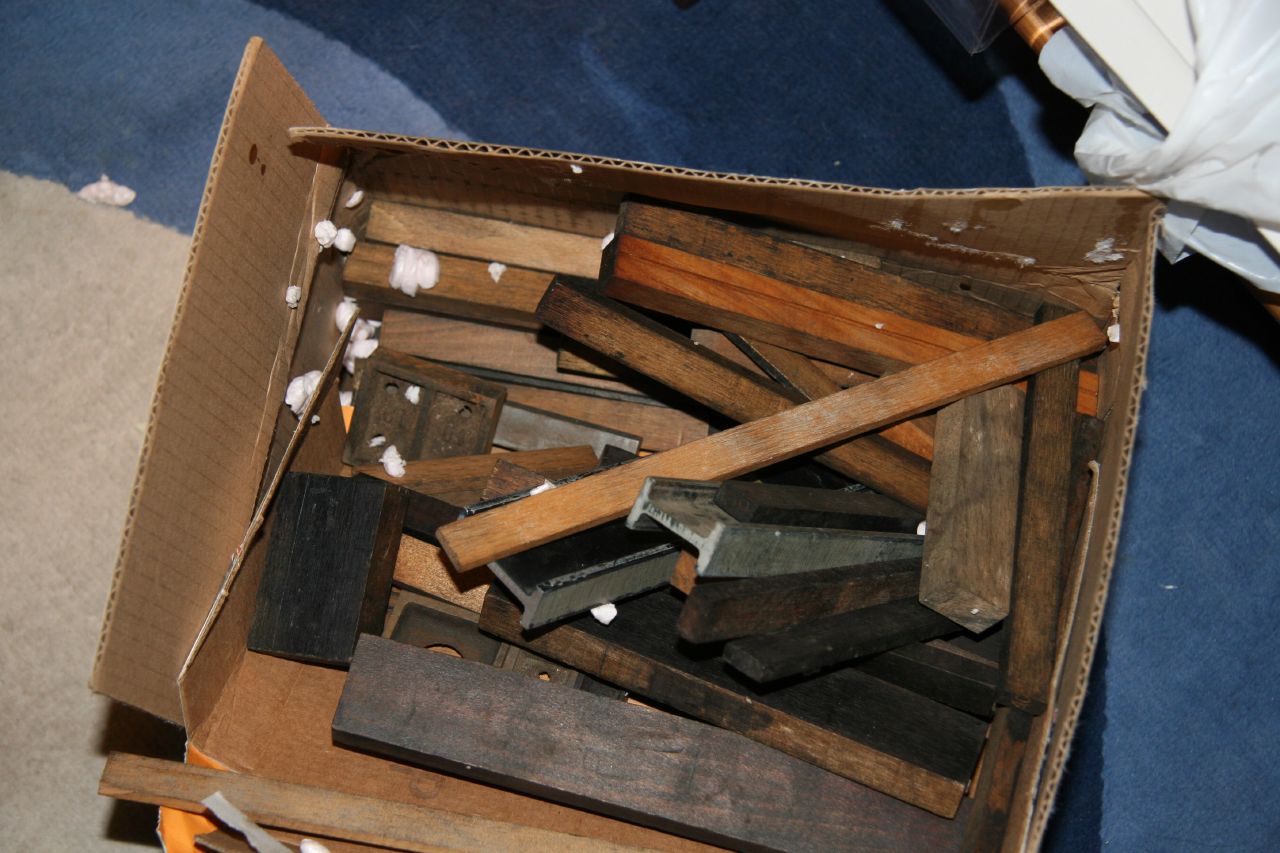
I wish I had taken some "before" pictures. But here are some pictures of my new acquisition, all put together and ready for ink and testing:
Golding Official #4, cleaned and put back together
Roller, custom made by Ramco
Yupo as tympan paper
Ready to go!

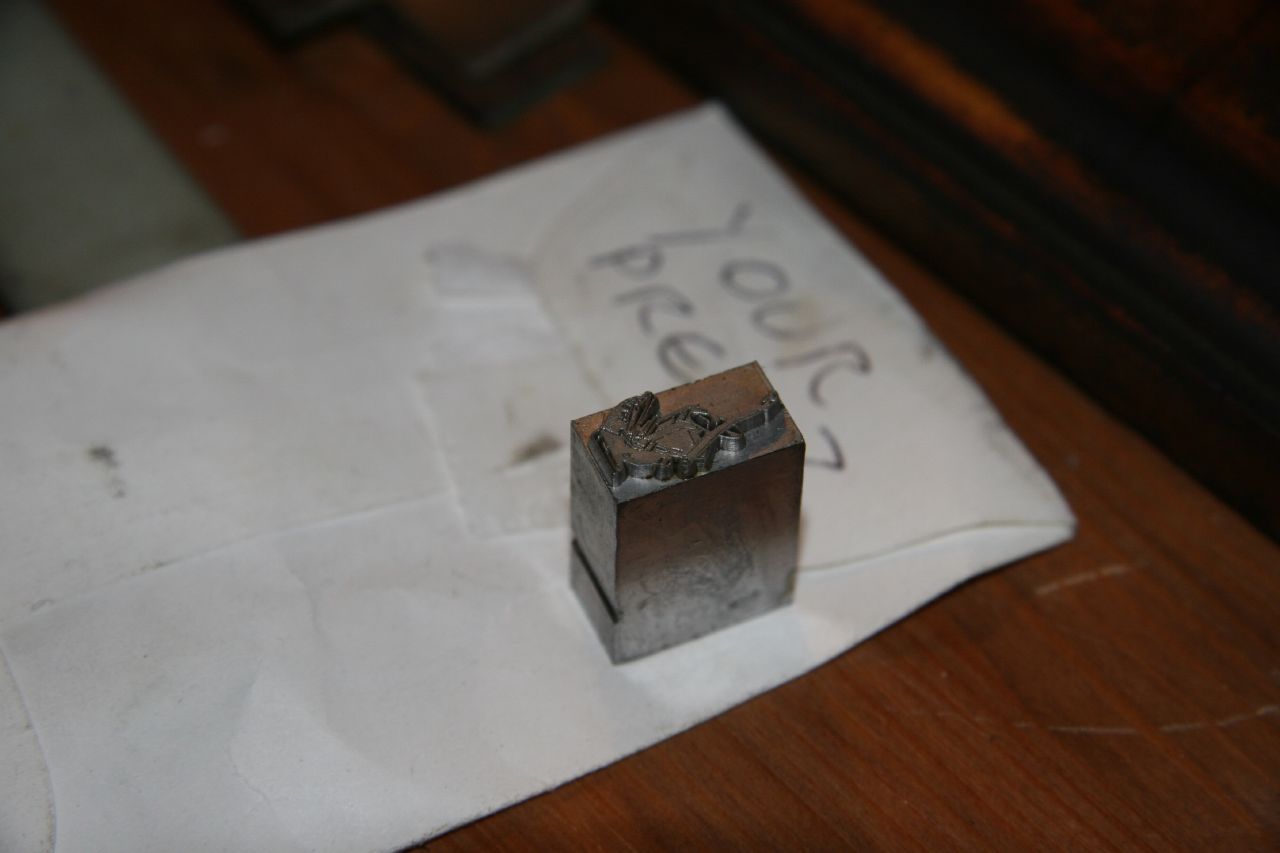
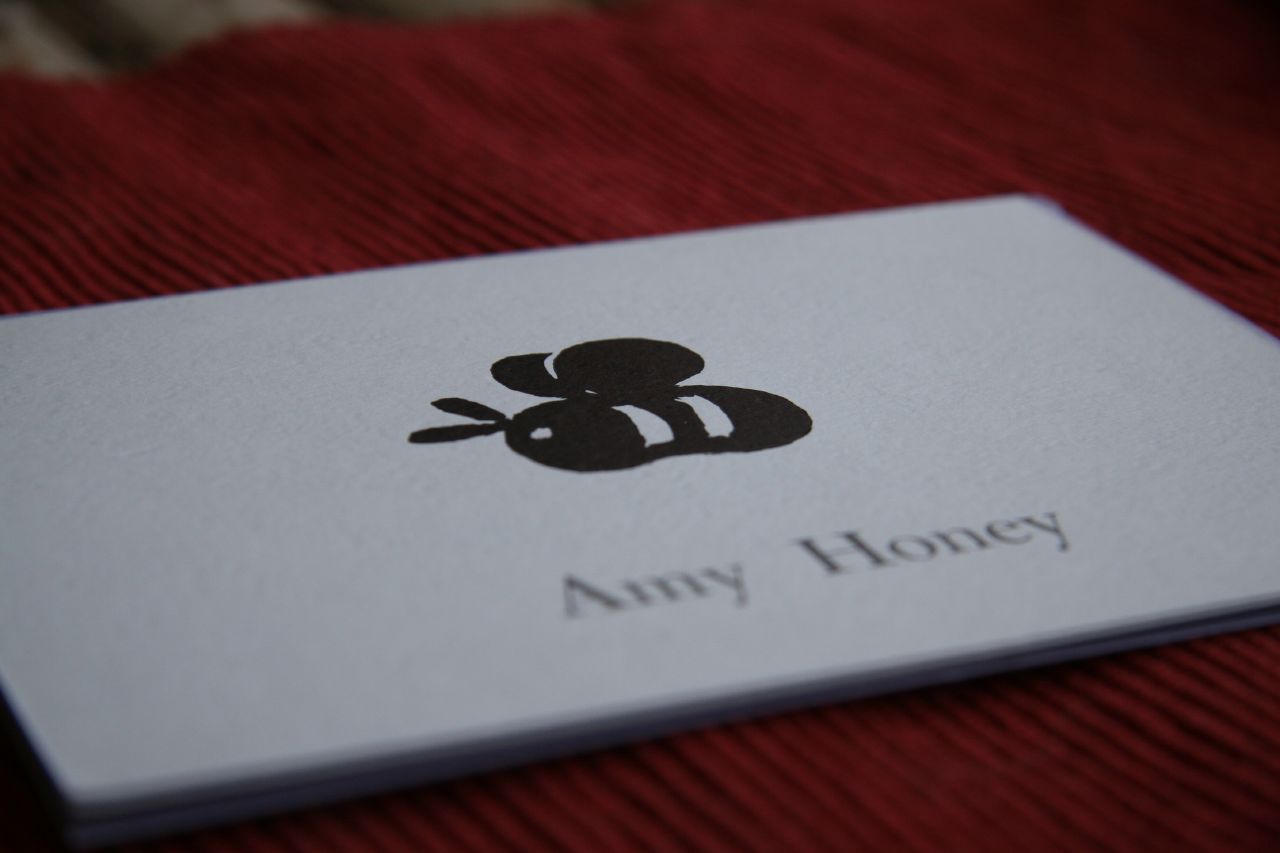 My first attempt was a bee (fans of Pooh will recognize this particular bee). I carved this three times before I got it right, and nicked myself more than once. It was my first time carving linoleum blocks! For those who like to know these sorts of things, the paper above is luxe frost from Paper Source.
 Inspired by
 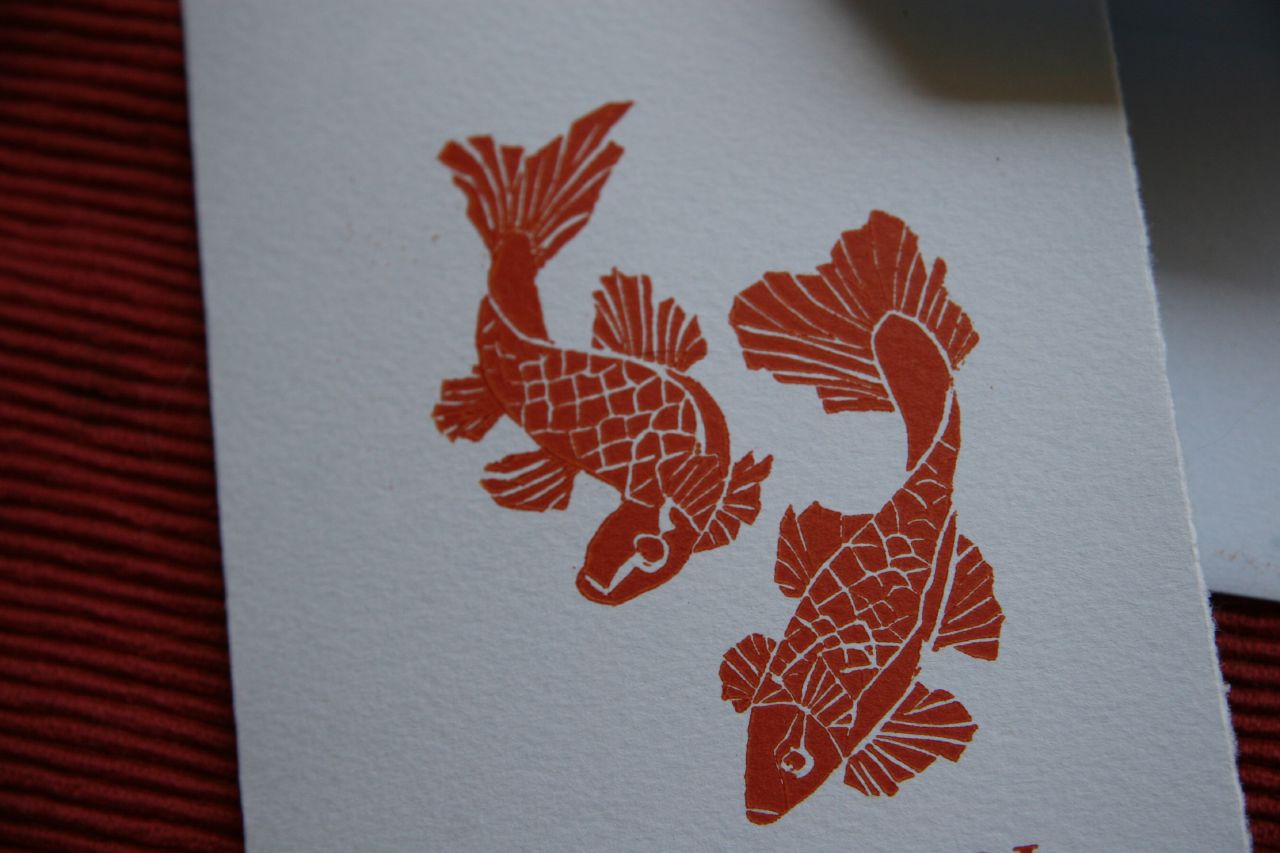 This is the most intricate linoleum cut I've carved yet. I wanted to do something Asian-inspired(actually I wanted to do a phoenix but that's way more intricate the koi I finally settled on). I saw this koi image somewhere and attempted to carve it, but my hands got tired by the time it got to the scales. I'm not sure if I want to redo this carving or not, as it took a really really long time, and this one looks pretty good, despite the mistakes on the koi on the right. This is orange ink printed on Arturo blue (same as the "Many Thanks" card...made in the same run).


